
1. To deploy ASAv qemu firewall we need to login into your EVE-NG
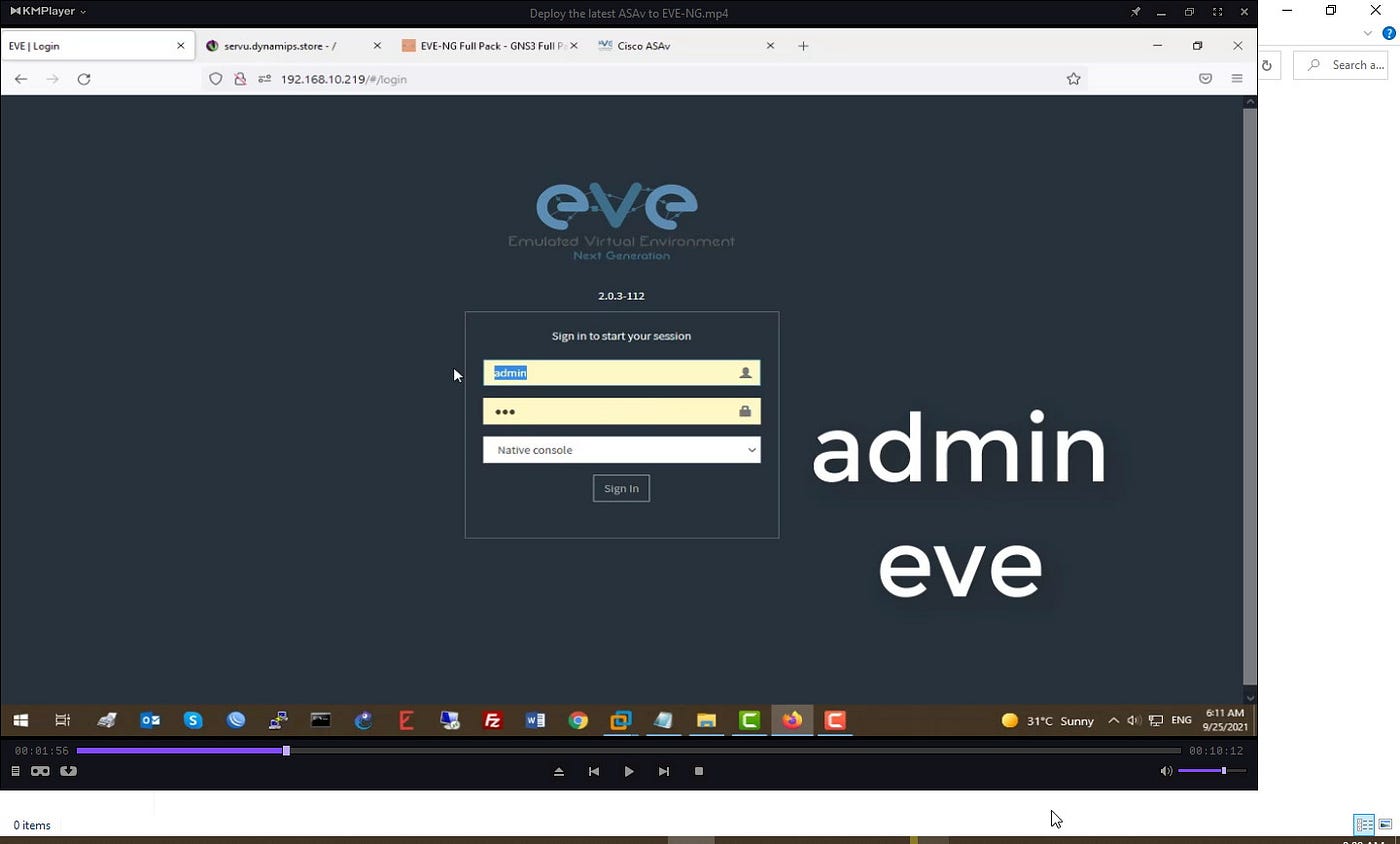
after you logged in we should see the screen as follows
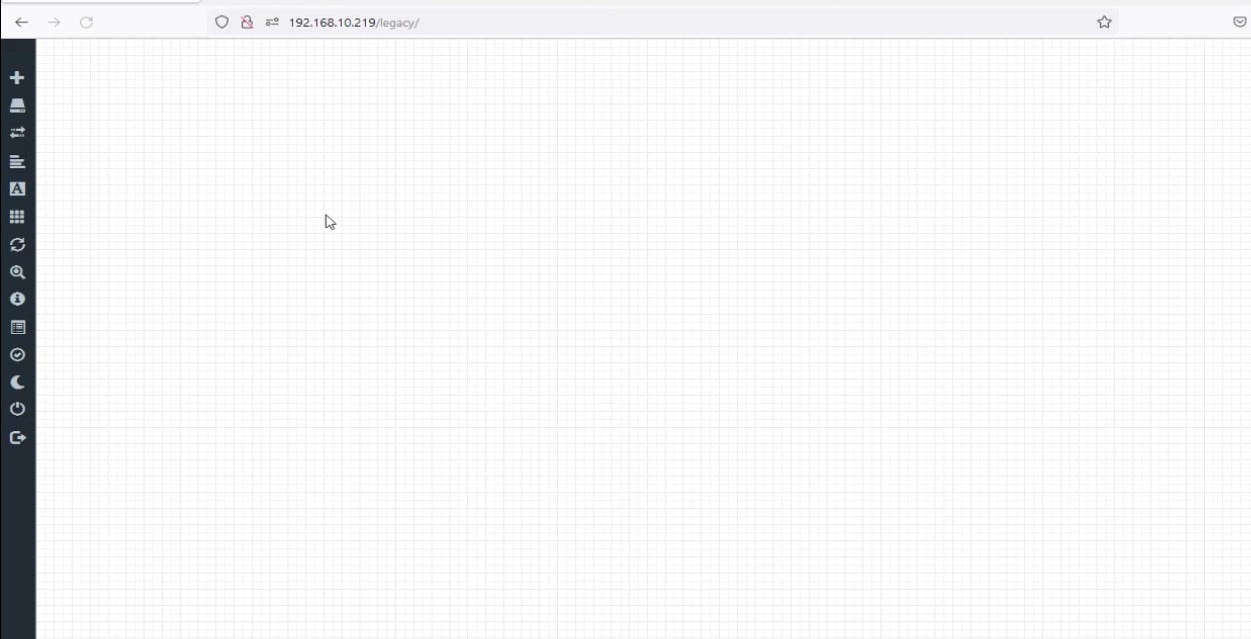
Here we need to create a new lab to upload our ASAv Cisco Firewall

Next, we need to specify the LAB name, description and we'll click on the save button.

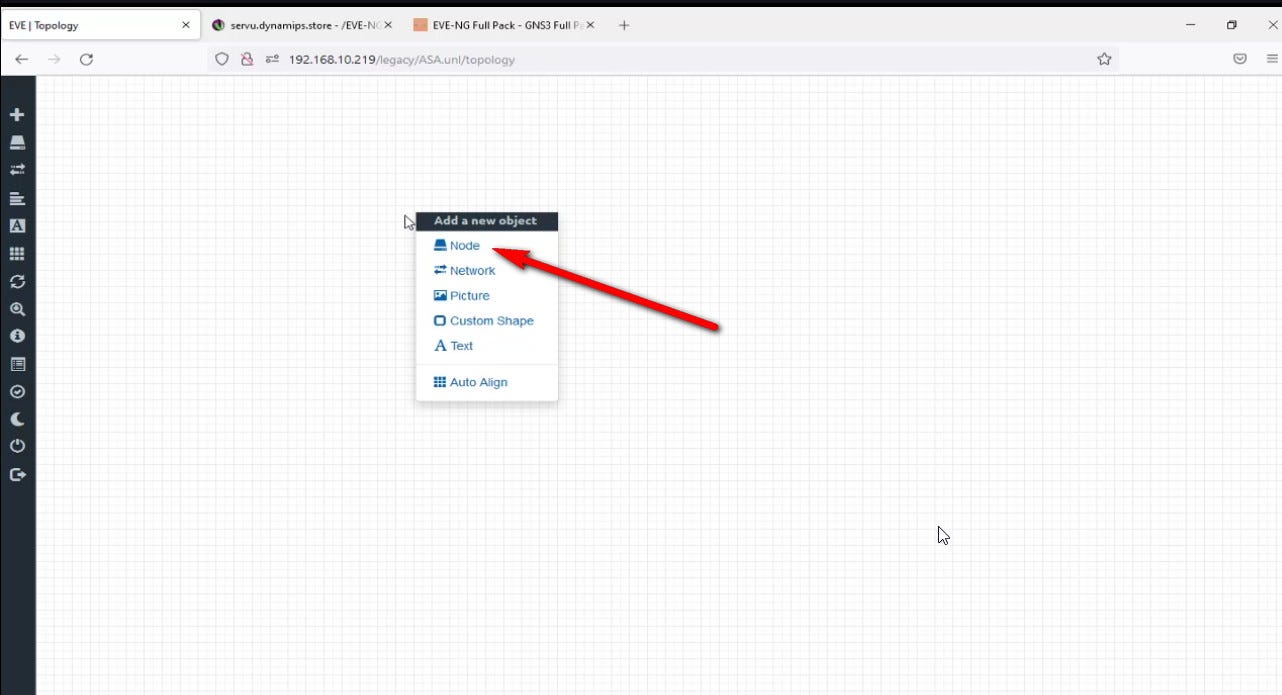
After we have created lab we need to verify whether we have installed ASAv Firewall or not! so as you can see it’s not installed and we need to install it in our EVE-NG


Install ASA qemu firewall in EVE-NG we need to upload ASA qemu file first.
To upload images into your EVE-NG we need an application like Filezilla or WinSCP. we should connect to eve-ng by IP and root credential and default password which is “eve”
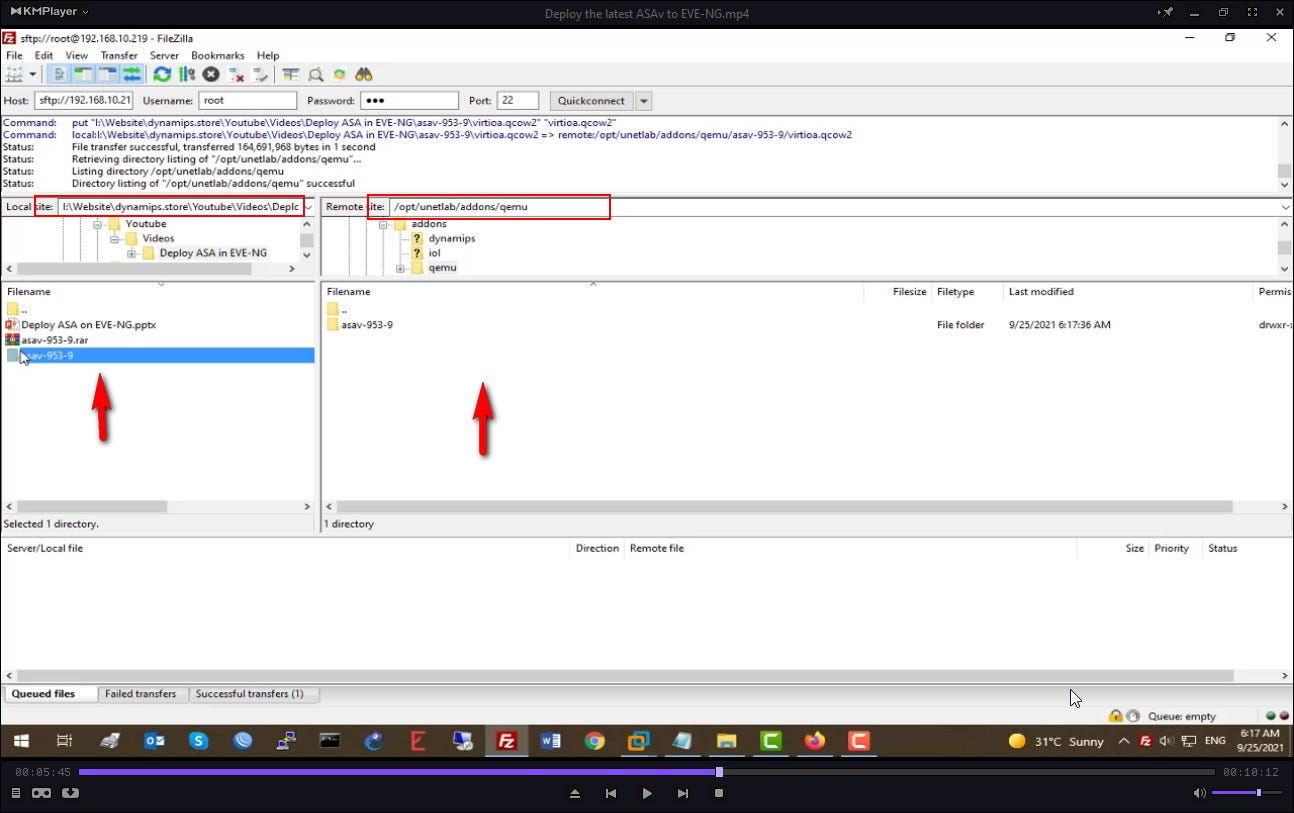
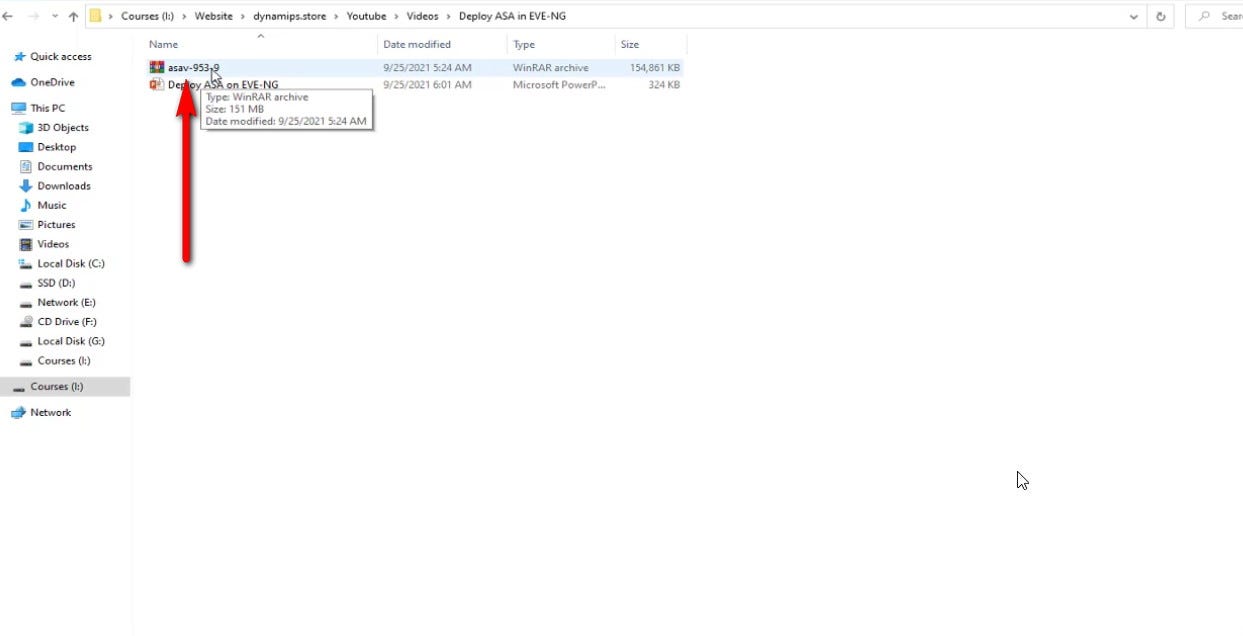
So here we have two sides as it’s shown in the screenshot. The left side is your computer side and the right side is your EVE-NG side, simply from the computer side we’ll find the images directory and we’ll right-click on the desired folder and will choose upload, to upload your image into your eve-ng
Then we need to connect to EVE-NG with putty to apply fixpermission command.

Next, we need to apply this command “ /opt/unetlab/wrappers/unl_wrapper -a fixpermissions “ where we have uploaded the eve-ng qcow2 image which is in /opt/unetlab/addons/qemu/ directory. So first we’ll go to the image directory by the cd command👇

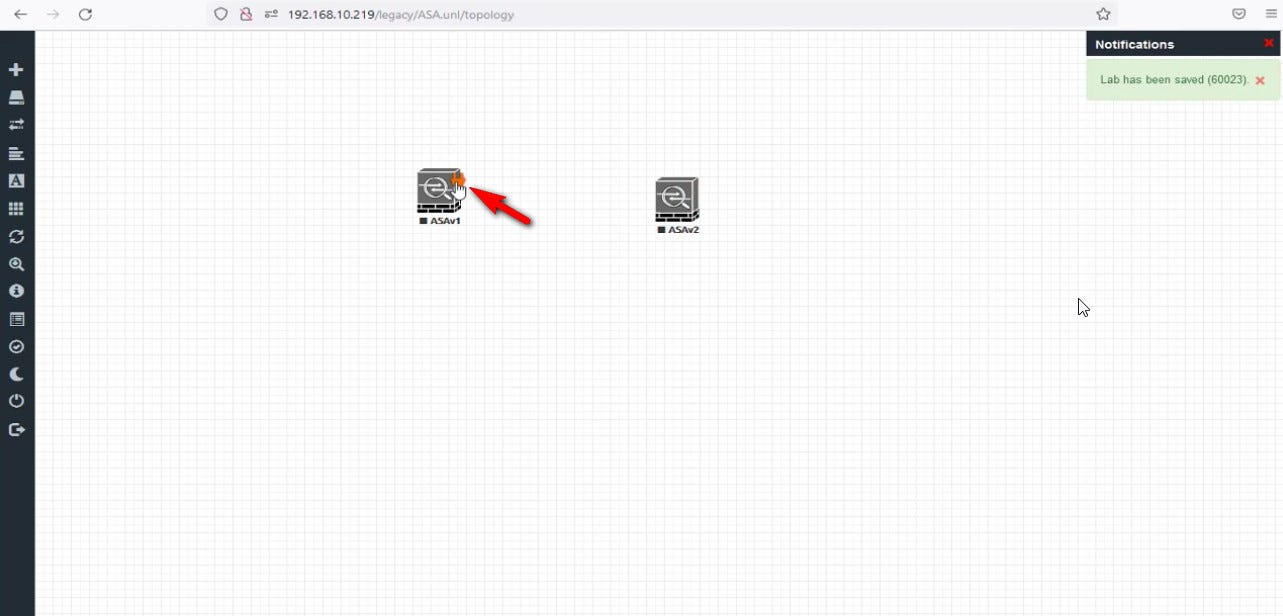
Once we applied the command for the ASAv qemu image! then we’ll go back to EVE-NG lab and will try to add the ASA image, this time we should see it without any problem. Note: EVE-NG folder naming is very important!!!

Now is the time to connect two ASAv Firewalls with this icon👇 just drag and connect two devices simply.

So here we have to define which interface of ASAv1 connect to ASAv2

Then from the left menu select more actions, and choose start all nodes

Finally, just double-click on both ASAv and you will provide putty access to both Firewalls.

I hope you enjoy this article. I appreciate it if you can share the article or write a comment and like it.
